17 October 2013

Mercedes W211 E 500 estate, 2004. RF unlocking the car is not working.

RF unlocking the car is not working.

I can lock/unlock the car using the IR (infra red) receiver at the door handle. The car can normally be locked/unlocked via IR or RF (radio signal). Since both keys were working via IR, I came to the conclusion that the keys were ok. Just to be sure that the radio signal was transmitted from the keys, I used a radio set on MW 1600. I could then hear the sequence transmitted by the key.


Conclusion: The fault had to be in the car.
I then checked the fuse for the antenna modul (RF amplifier).
7,5 A fuse (F008 antenna modul, fuse and relay box, rear N10/2). The fuse was ok.


Conclusion: The problem had to be in the cables from N10/2 to the antenna modul or in the antenna modul itself. The antenna modul is hidden behind the panels close to the rear window.


To get to it you will have to:
Undo 3 torx screws (red rings) and remove the black plastic panel.


Undo 2 torx screws (red rings) and remove the grey plastic panel.


Remove the panel around the seatbelt. 5 metal clip (red rings) are holding it in place.


The roof panel over the window is kept in place by 3 plastic clips (red rings).


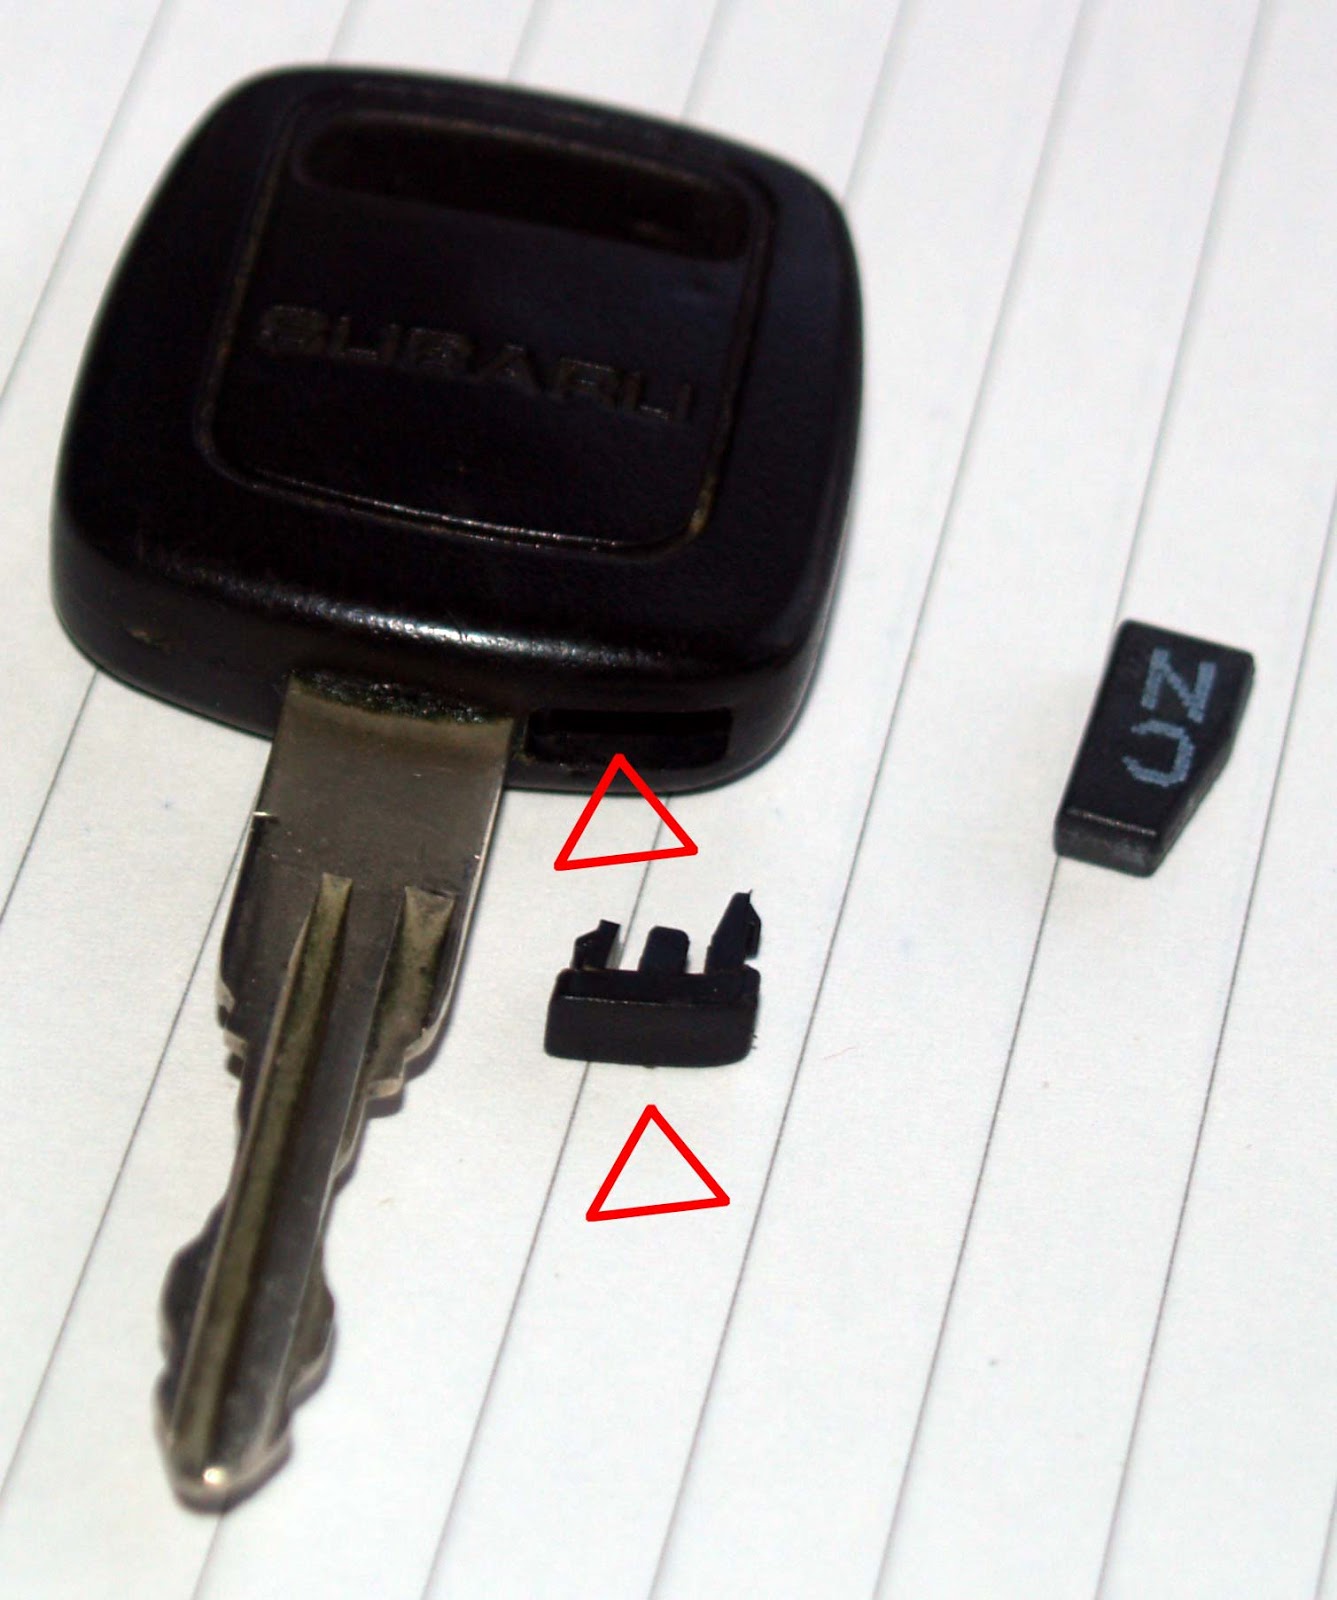
The plastic clip look like this:


The antenna modul is now easy to get to above the window.


Use a multimeter to check the modul:
The red/yellow cable should have +12 V.
Pink/blue is +12 V. when the radio unit is switched on.
Grey/yellow should have +10 V.


In my case the + 10 V. was "missing".
I then continued to remove DVD player in order to get to the cables behind N10/2.


There is a green plug (red circle) behind the bigger black plug (yellow circle). This plug has the same coloured cables as the ones on the antenna modul. (Red/yellow, Pink/blue and Grey/yellow).
Used a multimeter set to ohm to check the continuity between N10/2 and antenna modul.


If the cable is ok, the mutimeter will show 0 Ohm. In my case it did for all 3 cables. The conclusion was then; the problem had to be in the antenna modul itself.


I ordered a new modul A2118202989 and swapped it with the old one. What a surprise; it was working. Another DIY had been successful :)

6 June 2013

Central locking on a Subaru Impreza GF 1997.

Central locking on a Subaru Impreza GF 1997 was not working.

To remove the door panel.
Remove the plastic around the door handle. It is kept in place by a door panel clip. Pry the clip with ex. a flat headed screwdriver. (Red circle)


Pry the control panel for the electric windows in the front. (Red circle)


There is one door panel clip (green circle). See picture below.
There is a piece of plastic covering one Phillips screw (left red circle) See picture below.
Remove the 2 x Phillips screws. (Red circles)


Door panel clip (green circle above).


Piece of plastic covering one Philips screw (left red circle) See picture above.


The door panel is kept in place with several door panel clips around the bottom part of the door panel. Pry the door panel clips with a plastic pry bar.


Lift the door panel upwards to get it of the "hooks". (Green circles)


The reason for a faulty central locking was found in the connection to the actuator. One of the cables had broken. I took the contact apart and soldered the cable to the pin. Surprise! It was working again.


5 June 2013

Immobiliser tag for Subaru Impreza GF 1997 key.

Moving a immobiliser tag from one key to another.

I was changing a broken ignition switch in a Subaru Impreza. Since the car was equipped with an immobiliser I had to move the tag from the old key to the new one.


There is a small plastic lid, marked with a red triangle. Use a small flat headed screwdriver to remove it. The tag "CN" will come out. Move the tag to your new key and the job is done.

Blocked sanitary sewer.

The waste water was not flowing to the sanitary sewer.


The sanitary sewer had been working since 1974, without any problems. At first the waste water from the WC and shower was disappearing a bit slower than usual. Nobody was considering it to be any big problem before it completely "packed up".

It should be working like the picture below. Waste water and other waste coming to the sanitary sewer through the "in" pipe and water flowing out from the "out" pipe.


After an inspection of the sewer I noticed it was filled with water above the "out" pipe, which indicated the "out" pipe was blocked. The "out" pipe was opened up and cleaned, using high pressure water cleaner. The water started flowing through the "out" pipe and the level inside the sanitary sewer sank to the normal level. But, this did not explain the fact that the waste water from the house was not going anywhere.


The next thing to do was to dig a trench to get to the "in" pipe".


Close to the sewer I found a broken pipe. Pressure from the ground (2 meter/8 feet gravel in a steep hill) had broken the pipe. 

The pipe was replaced with a new one (110 mm.). 


4 June 2013

How to repair plastic parts for cars and motorbikes.

Repairing a steering column cowling for a Subaru Impreza 1997.

The cowling was broken into 3 pieces which I glued together with super glue. The glue dried in just a few seconds and helped to keep the parts together for the next step.


I cleaned the parts with a silicon remover. On the inside of the cowling I used fibreglass and polyester in order to glue the parts together.


I made a "shallow V" on the outside, with a Dremel.


I filled the "shallow V"with fibreglass padding and sanded it with 240 grit sandpaper.


I sprayed it with plastic primer before I covered it with black plastic paint. I'm pretty happy with the result.


16 May 2013

Navigon 40 Sat-nav

 Navigon 40 Sat-nav with no sound coming from the speaker.

4 small torx screws keeps the cover in place (yellow circles).


Pry the front and back cover apart, using a "soft" tool. The tool I'm using is made out of plastic.


Lift the plastic "lock" (yellow square) in order to remove the flat display connector.


2 plastic hooks (yellow circles) keep the PCB in place. Push them outwards.
Lift the speaker connector (red circle) and the battery connector (green circle).


2 Phillips screws keeps the speaker in place (yellow circles). 


Remove the speaker.


I used a standard 28 mm, 8 Ohm, 1,5W speaker which I put back in place using some black silicon.
I had to swap the old cable and connector to the new speaker by soldering (green circles).


Vw T4 Multivan 1994 front brakes

Changing brake pads.

I thought it would be a straight forward job, taking just 10-15 min. But it was not going to be this time :) I removed the metal piece (red square) and tried to push the metal pins (yellow) in the direction of the arrows. No chance! I tried with a hammer. Still not moving at all. It was time to get serious. I picked up my angle grinder and cut the pins in several parts. I used heat and a hammer.


In the end I had to drill the bits out. :(


From there on it went very well. I put the new pads in place.


I sprayed the new pins with copper grease, my best friend. I use it on every bolt, nut and piece of metal that I put together. I is very easy to take apart again, even after some years.


Finally I put the metal spring in place to lock the pins in place. Job done! A couple of hours later but anyway. :)


14 May 2013

Hyundai Elantra GLS -1999

Changing a rusty crossmember.

Hyundai Elantra 1999 is famous for its rusty crossmember bars. In fact, if you listen very carefully, you can hear it is rusting away.
All the nuts, bolts and sleeves inside the bushings which I had to remove were completely rusted together. The only way to remove them were by using an angle-grinder.


Red circles shows the bushings I chose to remove in order to get the crossmember removed from underneath the car.


As you can see from the picture, it was very rusty. The metal was like crackers.


 I used an arm puller tool to remove the bushings from the stabilizer arms.


I photo of the "new" crossmember after it was cleaned, blasted and painted.


I made myself a press tool to put the new bushings into place. I cleaned the metal on the stabilizers, using a Dremel andI  had some Fairy dish washer soap on the bushings and the stabilizer before I used the press tool to put it together. The press tool is made of a long bolt, 2 x nuts and 2 x washers. The long bolt goes through the bushing and stabilizer. Then it is just to use the nuts in order to push it together.


Part list:


2 x Nut                                   1310412001
2 x Washer-spring                  1361212001
2 x Plate                                 5523322001
2 x Bolt-cam                          5523029000
6 x Flange nut (self locking) 5455928000
4 x Bolt-flange                      551173F000
2 x Bolt                                 5521722000
4 x Bush-rr susp rr arm         5277329000
4 x Bush-rr susp fr arm         5521529000